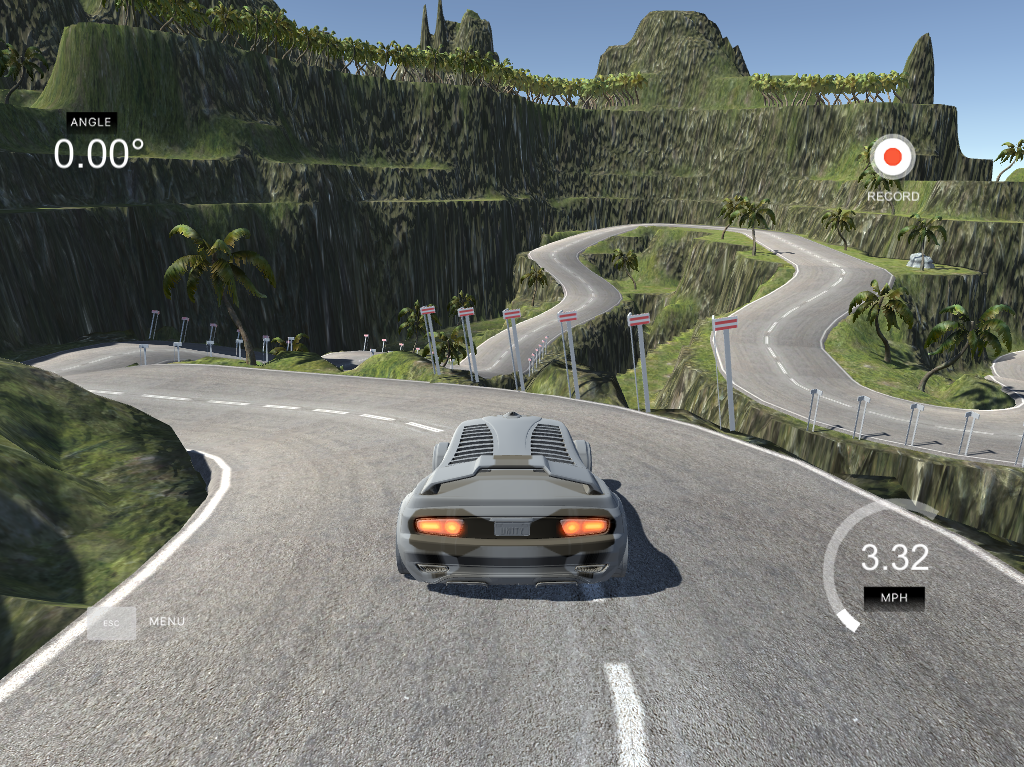
04. Running the Simulator

Here are the latest updates to the simulator:
- Steering is controlled via position mouse instead of keyboard. This creates better angles for training. Note the angle is based on the mouse distance. To steer hold the left mouse button and move left or right. To reset the angle to 0 simply lift your finger off the left mouse button.
- You can toggle record by pressing R, previously you had to click the record button (you can still do that).
- When recording is finished, saves all the captured images to disk at the same time instead of trying to save them while the car is still driving periodically. You can see a save status and play back of the captured data.
- You can takeover in autonomous mode. While W or S are held down you can control the car the same way you would in training mode. This can be helpful for debugging. As soon as W or S are let go autonomous takes over again.
- Pressing the spacebar in training mode toggles on and off cruise control (effectively presses W for you).
- Added a Control screen
- Track 2 was replaced from a mountain theme to Jungle with free assets , Note the track is challenging
- You can use brake input in drive.py by issuing negative throttle values
If you are interested here is the source code for the simulator repository
When you first run the simulator, you’ll see a configuration screen asking what size and graphical quality you would like. We suggest running at the smallest size and the fastest graphical quality.
We also suggest closing most other applications (especially graphically intensive applications) on your computer, so that your machine can devote its resources to running the simulator.
Training Mode
01 - Running The Simulator
The next screen gives you two options: Training Mode and Autonomous Mode.
Select Training Mode.
The simulator will load and you will be able to drive the car like it’s a video game. Try it!
You'll use autonomous mode in a later step, after you've used the data you collect here to train your neural network.